What's in this post...
![]()
Last Updated on January 29, 2016 by Graham Walsh
Welcome to this post about installing Pexip Infinity. I will publish several articles on each piece of integration, so this first post will be about getting the management console installed.
Step One – Prepare hardware
The first part to planning a deployment of Pexip is to decide on the hardware, lab or production. Full details of what is required/recommended is detailed on the Pexip site here. Once you have your hardware, you then need to install a hypervisor, VMWare is recommended but Hyper-V, Xen & KVM are also supported. Tests have been done with Citrix XenServer too.
Step Two – Download Software
Once you have some hardware available, the next step is download the software from www.pexip.com/download. All you need to do is pick the OVA or the Hyper-V format and download. Once downloaded head over to your VMWare console.

Step Three – Importing the Appliance
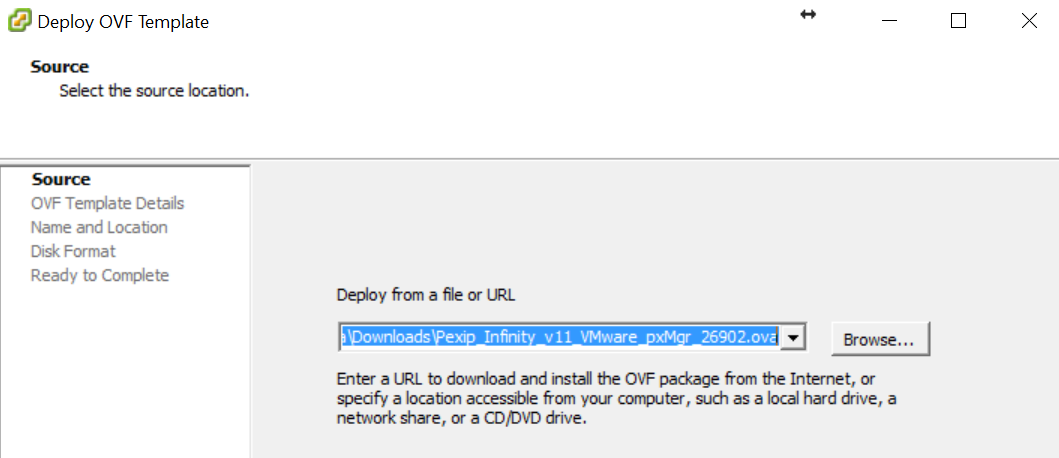
In the VMWare Console, just select File > Deploy OVF Template and select the downloaded file and then select Next.
Then have a look at the details of the template and select Next

Next up is Accept the EULA and select Next

Now in this page we provide the name you want to give the management node. This is purely for the naming convention in your hypervisor platform. You also select which cluster etc where you want to place the management node.

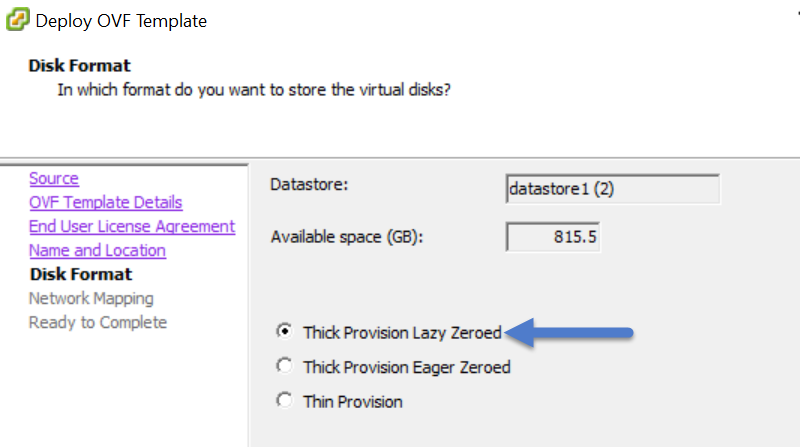
For the disk format, you need to select Thick Provisioned Lazy Zeroed and select Next.
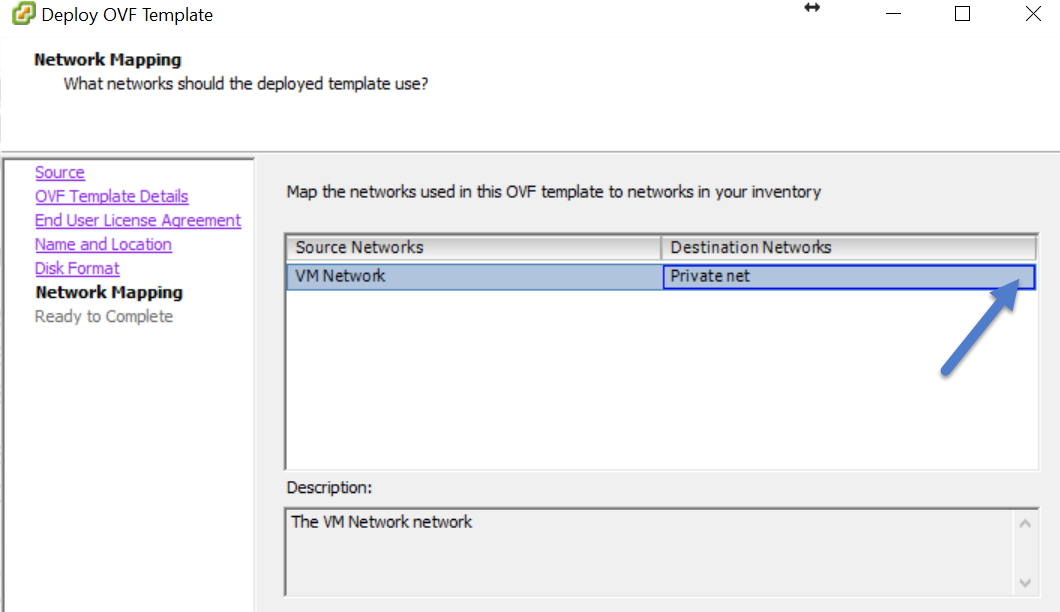
In this next page for the Network, select your designed network scheme for the management node. This will usually be inside your network. Select Next.
In this final screen, select Power On after Deployment to get the server up and running and select Next.
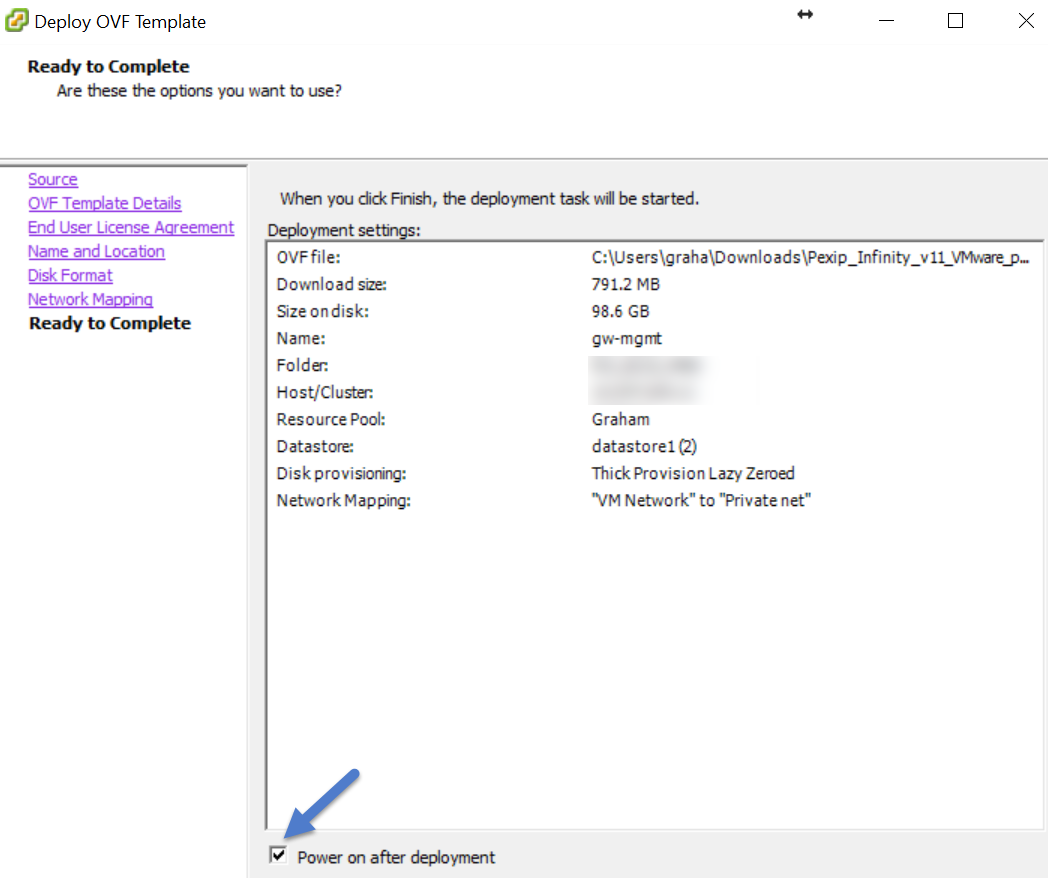
The Pexip Infinity Management node will now start to be deployed onto your VMWare server and will start once ready.

You will be then notified once deployed successfully.

Step Four – Configuring the Management Node
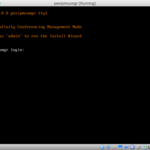
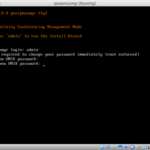
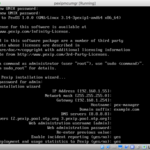
Once the server has booted up, open the console window to view the server. Just follow the on-screen prompts to get the basic settings onto the server.
You will need the following details:
- IP Address – e.g. 192.168.1.55
- Subnet Mask – e.g 255.255.255.0
- Default Gateway – e.g. 192.168.1.254
- Hostname – e.g. pex-manager
- Domain – e.g. example.com
- DNS Servers – e.g. 8.8.8.8 (in most cases this will be your internal DNS servers)
- NTP Servers – either accept the defaults or enter your own
- Web User – username for Web Administrator
- Web Password – password for the web administrator
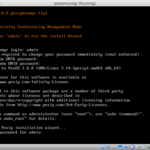

The server will then reboot. Whilst the server is rebooting, it would be a good time to head over to your DNS server and create an A record for the management node based upon the hostname inputted as part of the setup.
Once the server is booted, you will see this screen to see that the settings have taken. You can now close the console window and head over to a web browser.

Step Five – Browsing to the Pexip Management Node
In your web browser, type in the DNS name or IP address and you will be asked to login. Just input the login credentials.

You now have a fully operational management node to start building your collaboration platform, to Infinity and beyond.

Stay tuned for part two where where we will deploy our first conference node and get a call up and running. As always, refer to https://docs.pexip.com for any information.